Top 10 PCB Assembly Tips for Beginners to Enhance Your Projects
In the intricate world of electronics, mastering the art of PCB assembly can significantly influence the success of your projects. According to Dr. Michael Chen, a renowned expert in the field of electronics manufacturing, “The precision in PCB assembly lays the foundation for innovation in design and functionality.” As beginners embark on their journey into electronics, understanding the fundamental aspects of PCB assembly becomes essential for creating reliable and efficient devices.
This guide aims to provide ten essential tips that will not only help newcomers navigate the complexities of PCB assembly but also enhance their overall project outcomes. From selecting the right components to understanding the nuances of soldering techniques, each piece of advice is rooted in industry best practices. By incorporating these tips, aspiring engineers will gain confidence and competence in their PCB assembly skills, paving the way for more advanced projects and innovations in the future. Embracing these foundational concepts is key to unlocking potential and driving creativity within the ever-evolving realm of electronics.
Understanding PCB Basics: Design and Functionality
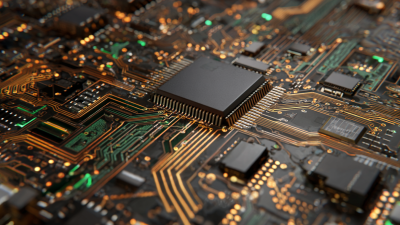
Understanding the basics of Printed Circuit Boards (PCBs) is crucial for anyone venturing into electronics. At their core, PCBs serve to connect various electronic components together. These boards use conductive pathways etched from copper sheets to create a framework for electronic devices. A thorough grasp of PCB design and functionality allows beginners to make informed decisions during their projects, ensuring higher reliability and performance.
One effective tip for beginners is to keep the layout as simple as possible. A cluttered design can lead to confusion and connectivity issues. By organizing components logically and minimizing the distance between them, you can enhance signal integrity. Another essential point is to pay attention to the power distribution. Ensuring that power traces are appropriately sized guarantees that your components receive sufficient power without overheating or suffering voltage drops.
Moreover, consider using proper tools for designing your PCB. Various software programs are available to aid in creating schematics and layouts. Familiarizing yourself with these tools can significantly streamline the design process. Finally, always prototype your design before finalizing it. This will allow you to identify potential issues in functionality and make necessary adjustments without incurring significant costs. These foundational strategies will enhance not only your understanding of PCBs but also the overall quality of your electronic projects.
Top 10 PCB Assembly Tips for Beginners to Enhance Your Projects
| Tip Number |
PCB Assembly Tip |
Description |
| 1 |
Understand PCB Design Software |
Familiarize yourself with software like Eagle or KiCad for designing your PCBs. |
| 2 |
Schematic First, PCB Layout Second |
Create a detailed schematic before transferring it to a PCB layout. |
| 3 |
Component Selection Matters |
Choose components based on your project’s needs and ensure compatibility. |
| 4 |
Follow Design Rules |
Ensure that you adhere to design rules to avoid manufacturing issues. |
| 5 |
Consider the Right PCB Thickness |
Choose an appropriate thickness based on the application and physical constraints. |
| 6 |
Thermal Management |
Design for heat dissipation to protect sensitive components. |
| 7 |
Use Design Validation Tools |
Employ simulation tools to validate your design before fabrication. |
| 8 |
Plan for Prototyping |
Create prototypes to test and validate your designs before full production. |
| 9 |
Documentation is Key |
Keep thorough documentation of your design process for future reference. |
| 10 |
Seek Feedback |
Engage with the community for suggestions and improvements to your PCB designs. |
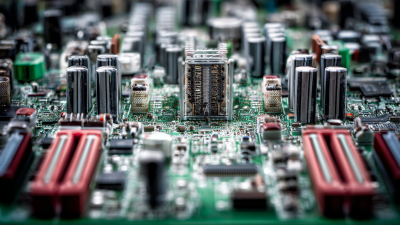
Essential Tools for PCB Assembly: A Beginner's Guide
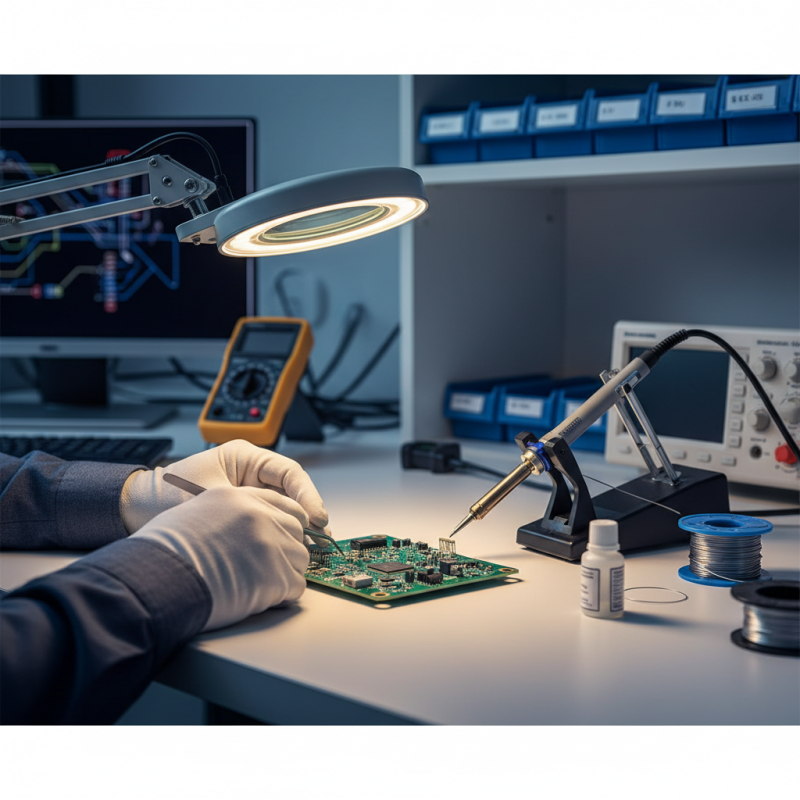
When embarking on your PCB assembly journey, having the right tools is paramount. Essential tools for PCB assembly include a high-quality soldering iron, which is crucial for attaching components to your board. According to industry reports, approximately 75% of PCB assembly errors can be attributed to improper soldering techniques. Investing in a soldering station with adjustable temperature control can significantly reduce such errors and enhance the overall quality of your projects.
In addition to a soldering iron, a reliable multimeter is indispensable for testing and troubleshooting your circuits. It allows beginners to ensure that connections are correct and that components are functioning as intended. Research indicates that nearly 60% of novice PCB assemblers encounter issues due to incorrect wiring or component placement, making a multimeter an essential tool for preventive diagnostics. Moreover, incorporating a magnifying lamp can greatly assist in precision work, allowing you to see minute details clearly, which is vital for intricate designs or small components. With these essential tools in your kit, you'll be better equipped to create successful PCB projects without compromising on quality.
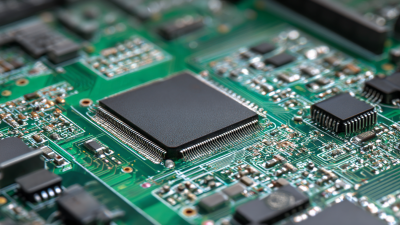
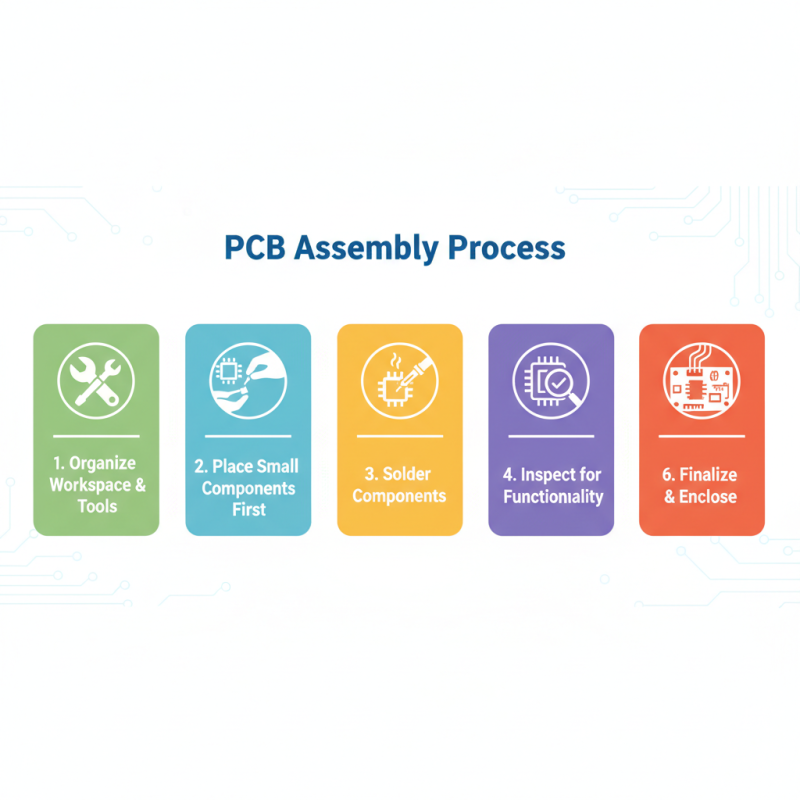
Step-by-Step Assembly Process: Connecting Components Efficiently
When it comes to PCB assembly, understanding the step-by-step process of connecting components can significantly enhance the outcome of your projects. First, start by organizing your workspace. Gather all necessary tools and components, such as soldering irons, multimeters, and various electronic parts. Having everything within reach allows for a smoother and more efficient assembly process. Begin with the placement of the smaller components, such as resistors and capacitors, on the PCB. This not only minimizes the chances of mistakes but also ensures that larger components do not obstruct your work as you progress.
After placing the components, the next crucial step is soldering. Ensure that your soldering iron is at the correct temperature and practice good soldering techniques for optimum connections. Start with the component leads that are closest to the PCB, securing each in place before moving on. It's important to ensure that there are no cold solder joints, as these can lead to failures in the circuit. Once all components are soldered, perform a visual inspection to catch any potential issues. Following this meticulous step-by-step approach will help you enhance not just the functionality but the reliability of your PCB projects.
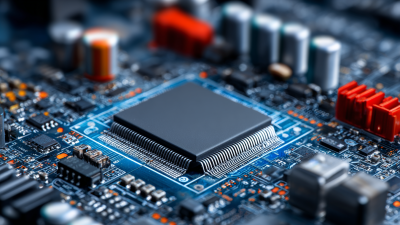
Common Mistakes to Avoid in PCB Assembly
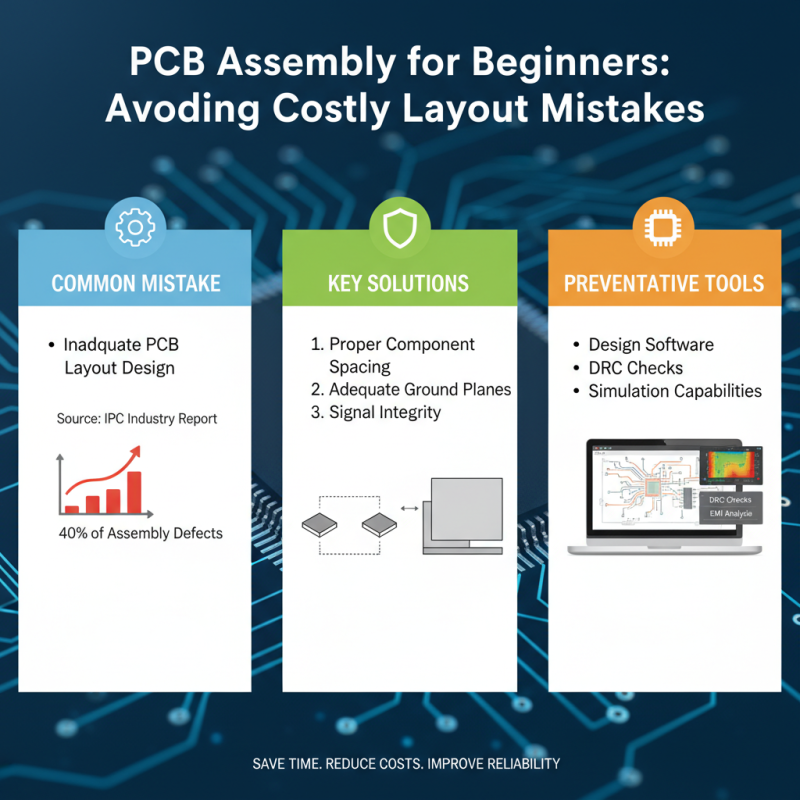
When it comes to PCB assembly, beginners often overlook critical aspects that can lead to costly mistakes and project delays. One common mistake is inadequate PCB layout design. According to a recent industry report by IPC, improper layout accounts for nearly 40% of PCB assembly defects. Ensuring proper spacing between components and incorporating adequate ground planes can significantly enhance signal integrity and reduce electromagnetic interference. Utilizing design software with simulation capabilities helps in identifying potential issues before physical assembly, saving time and resources.
Another frequent pitfall is the choice of unsuitable soldering techniques. The same report highlights that over 30% of assembly failures stem from poor solder joints. Beginners often underestimate the importance of temperature control and proper solder application methods. It's vital to use the right solder material, whether it's lead-free or traditional solder, and to adhere strictly to the manufacturer's specifications regarding temperature profiles. Additionally, ensuring cleanliness of the PCB before assembly minimizes contaminants that may adversely affect solder quality and reliability. By focusing on these critical areas and leveraging industry insights, beginners can significantly improve their PCB assembly processes.
Testing and Troubleshooting Your PCB: Tips for Success
Testing and troubleshooting a PCB (Printed Circuit Board) is a crucial phase in the production process that not only ensures functionality but also enhances the overall reliability of the device. According to a report by IPC, approximately 30% of defects in PCBs arise during the assembly process, underlining the importance of rigorous testing. Implementing effective testing strategies can significantly minimize the chances of failure post-production. Utilizing techniques such as In-Circuit Testing (ICT) and Automated Optical Inspection (AOI) can help identify faults early, facilitating timely revisions that can save both time and cost in the long run.
When it comes to troubleshooting, having a systematic approach is essential. Organizing tests based on power supply, signal integrity, and ground connections can help isolate issues more efficiently. A study by the Electronics Industry Association notes that 70% of PCB failures are related to issues with the solder connections. Therefore, employing methods such as functional testing and continuity checks can be invaluable. Moreover, documenting the troubleshooting process not only assists in resolving current issues but also serves as a reference for future projects, allowing beginners to build their knowledge base effectively. Engaging in these practices not only enhances the quality of the PCB but also builds confidence in the troubleshooting skills of those new to the field.